Where to Find Silver in Subnautica 2
Last updated: May 23, 2026
In Subnautica 2, Silver Ore is your first major progression hurdle. Unlike basic resources like Titanium or Quartz, Silver does not spawn out in the open on the seabed. It is located inside dark caves and along specific cliff faces.
You need Silver to craft the Standard Air Tank and Wiring Kits, making it essential for exploring deeper biomes.
TIP
Want to see the exact locations on the map? Check out our Subnautica 2 Interactive Map for verified coordinates.
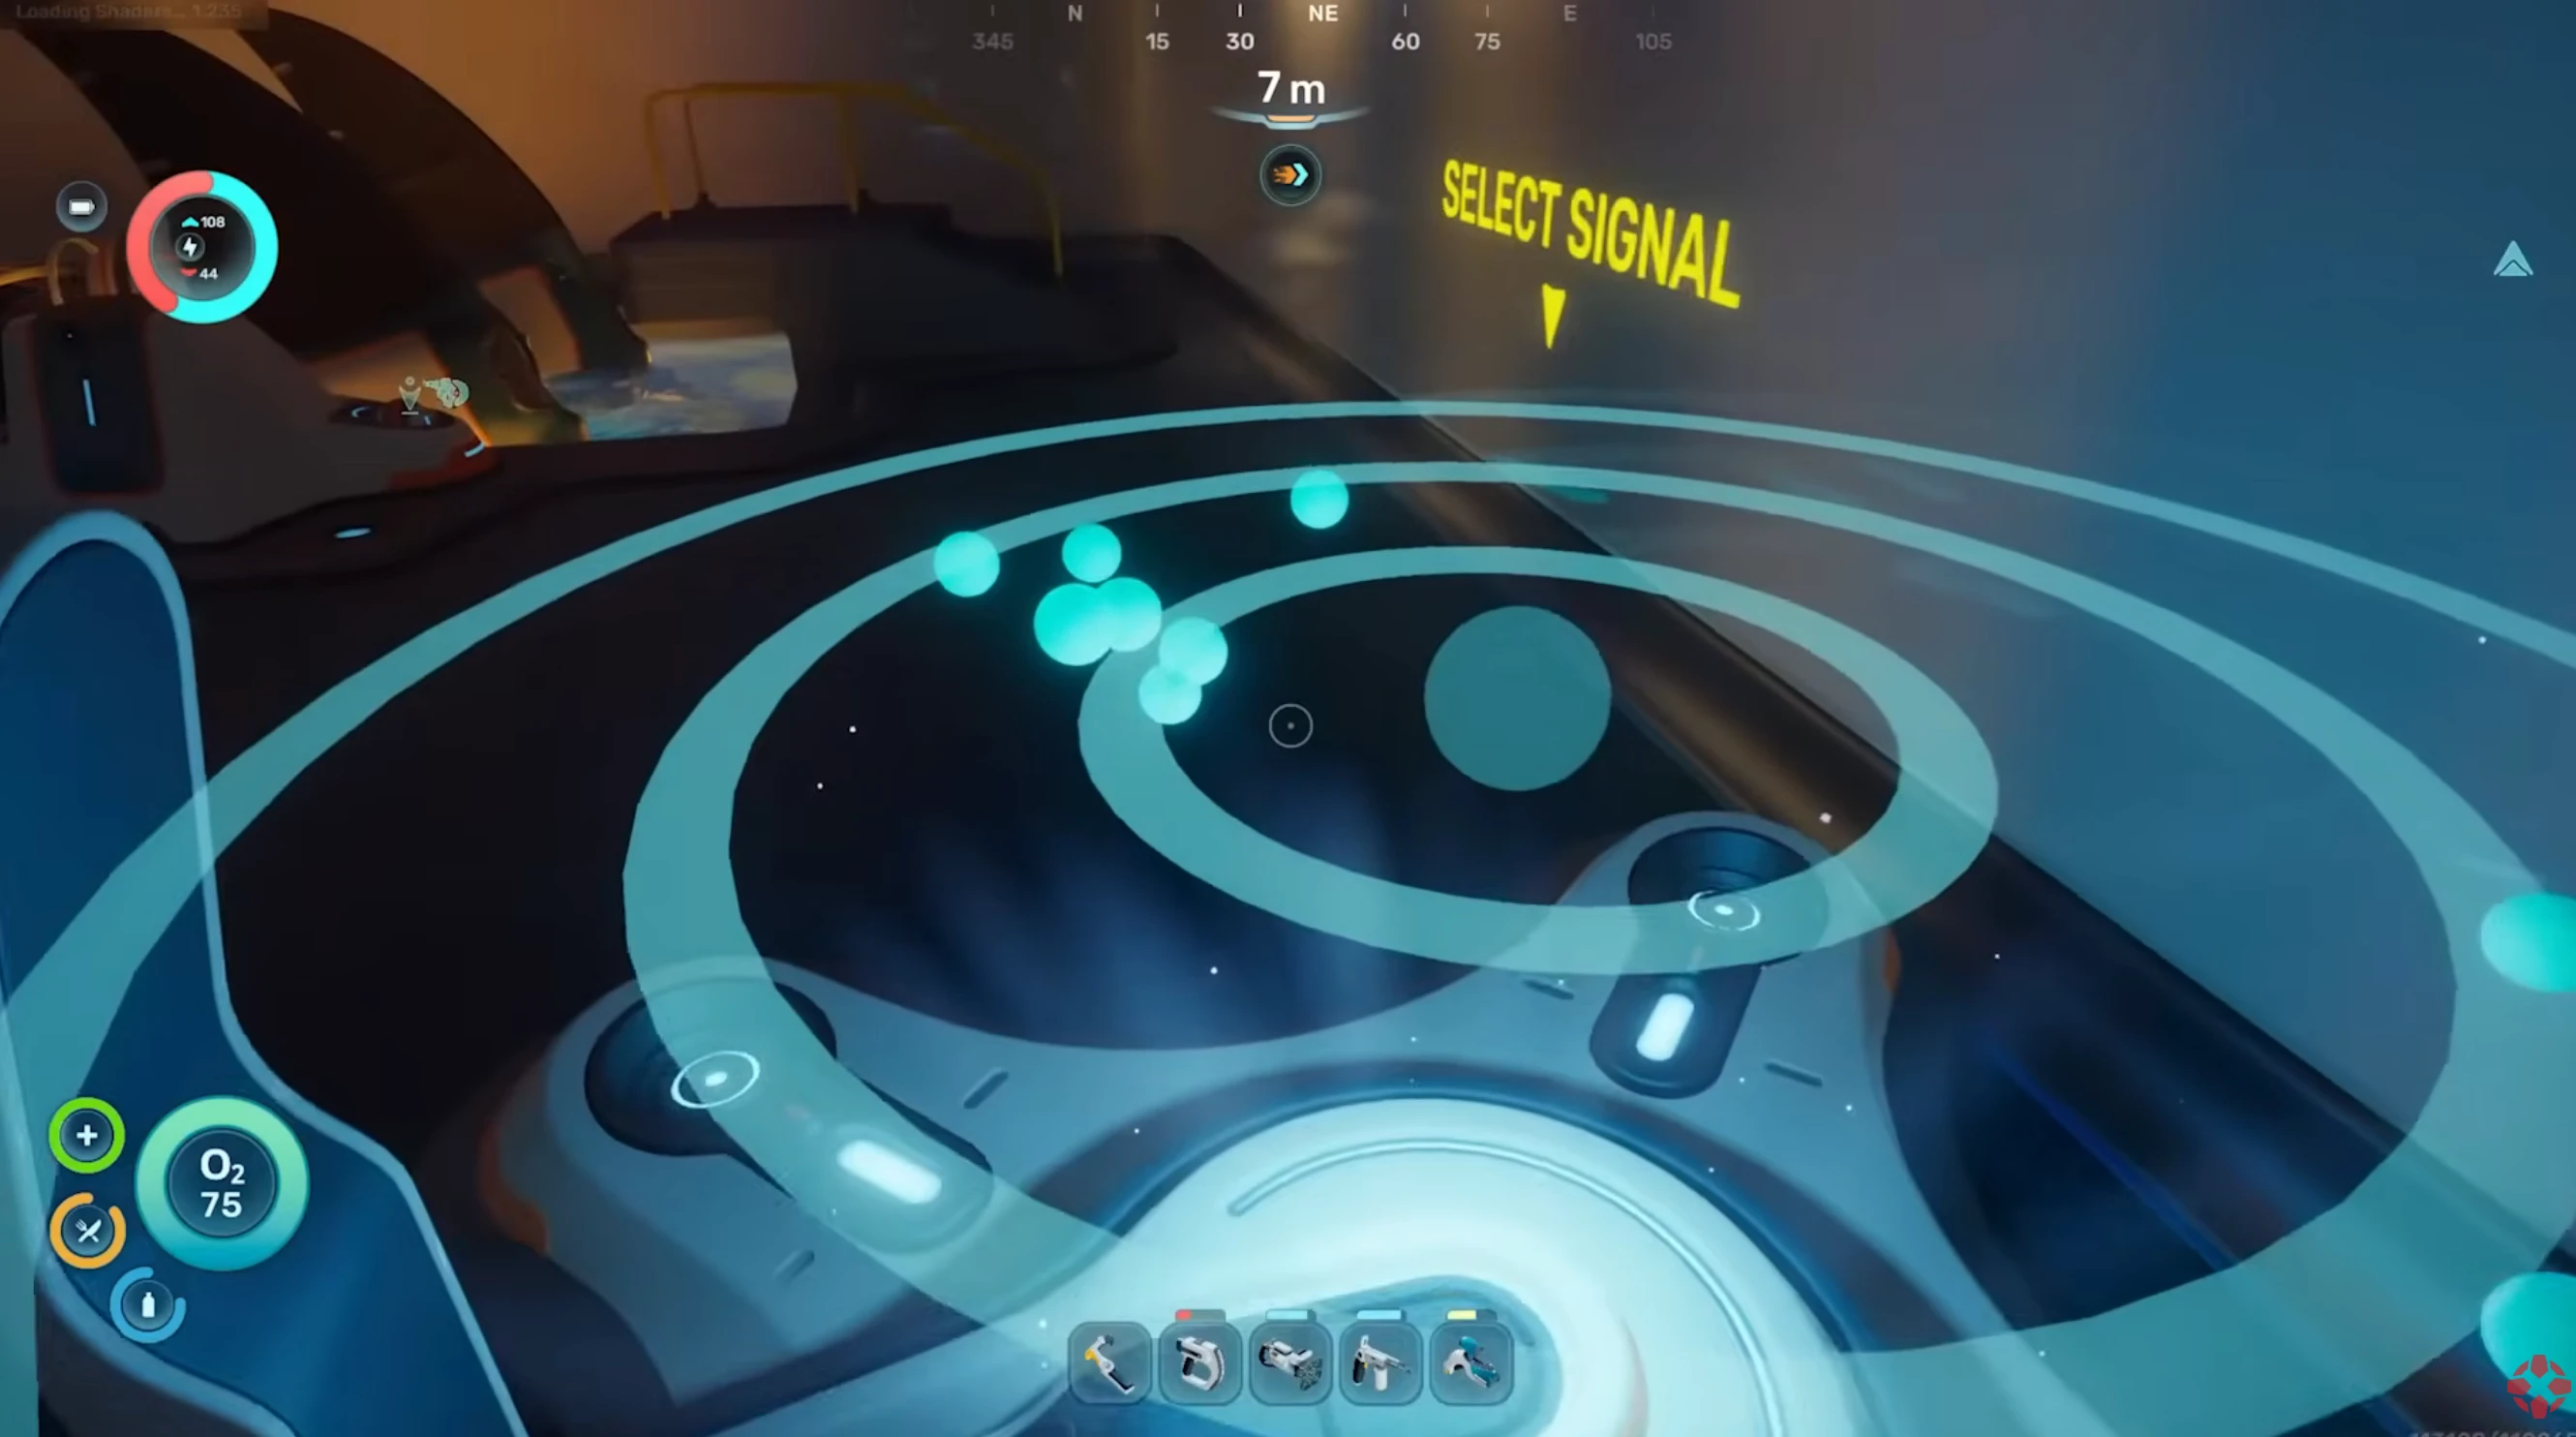
Video Route Walkthrough
You can watch the exact path and landmarks in this quick visual guide:
Quick Answer: Where is Silver?
- The Location: Caves located 200m to 250m North (and North-Northeast) of your starting Lifepod.
- Alternative Location: Cliff edges 200m directly South of your Lifepod.
- Where to look: Inside narrow rock crevices and cave ceilings, or embedded in large rock chunks.
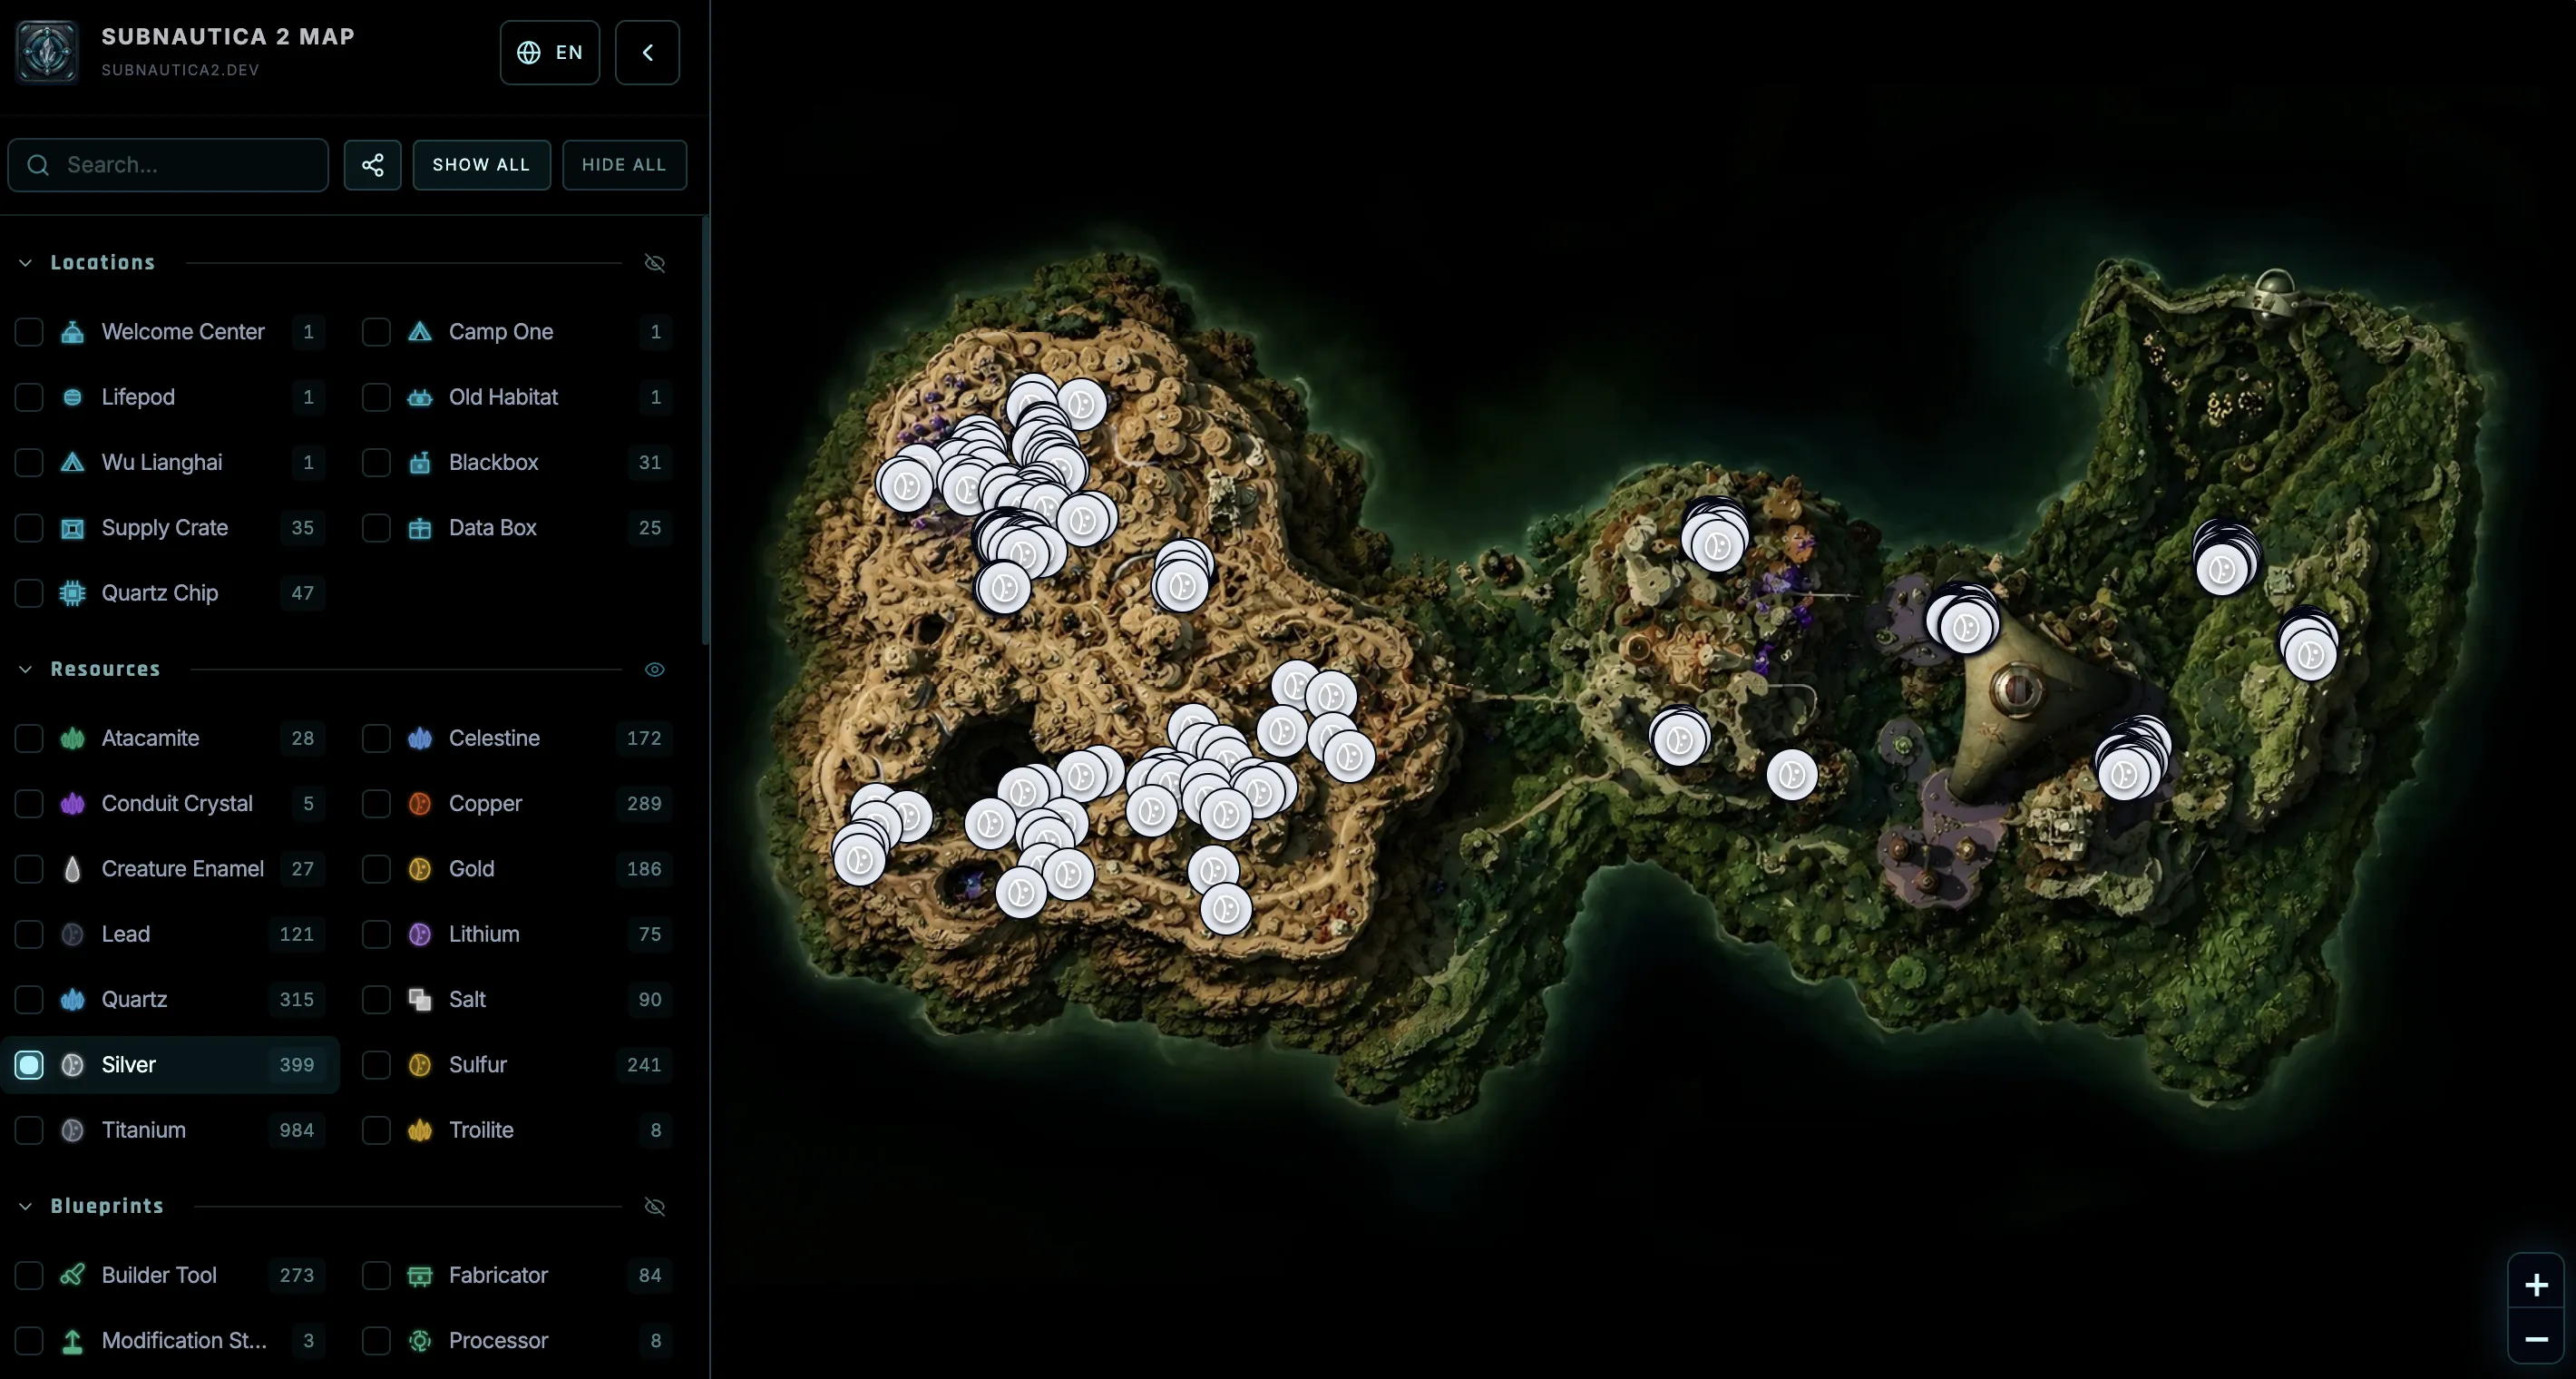 Click the image to view all Silver Ore exact locations on the interactive map.
Step-by-Step Route: The North Caves
Follow this route from your Lifepod to reach the silver-rich caves:
Head North from the Lifepod
Exit your Lifepod, face North, and swim toward the seabed. Keep the compass at the top of your screen pointing to N.
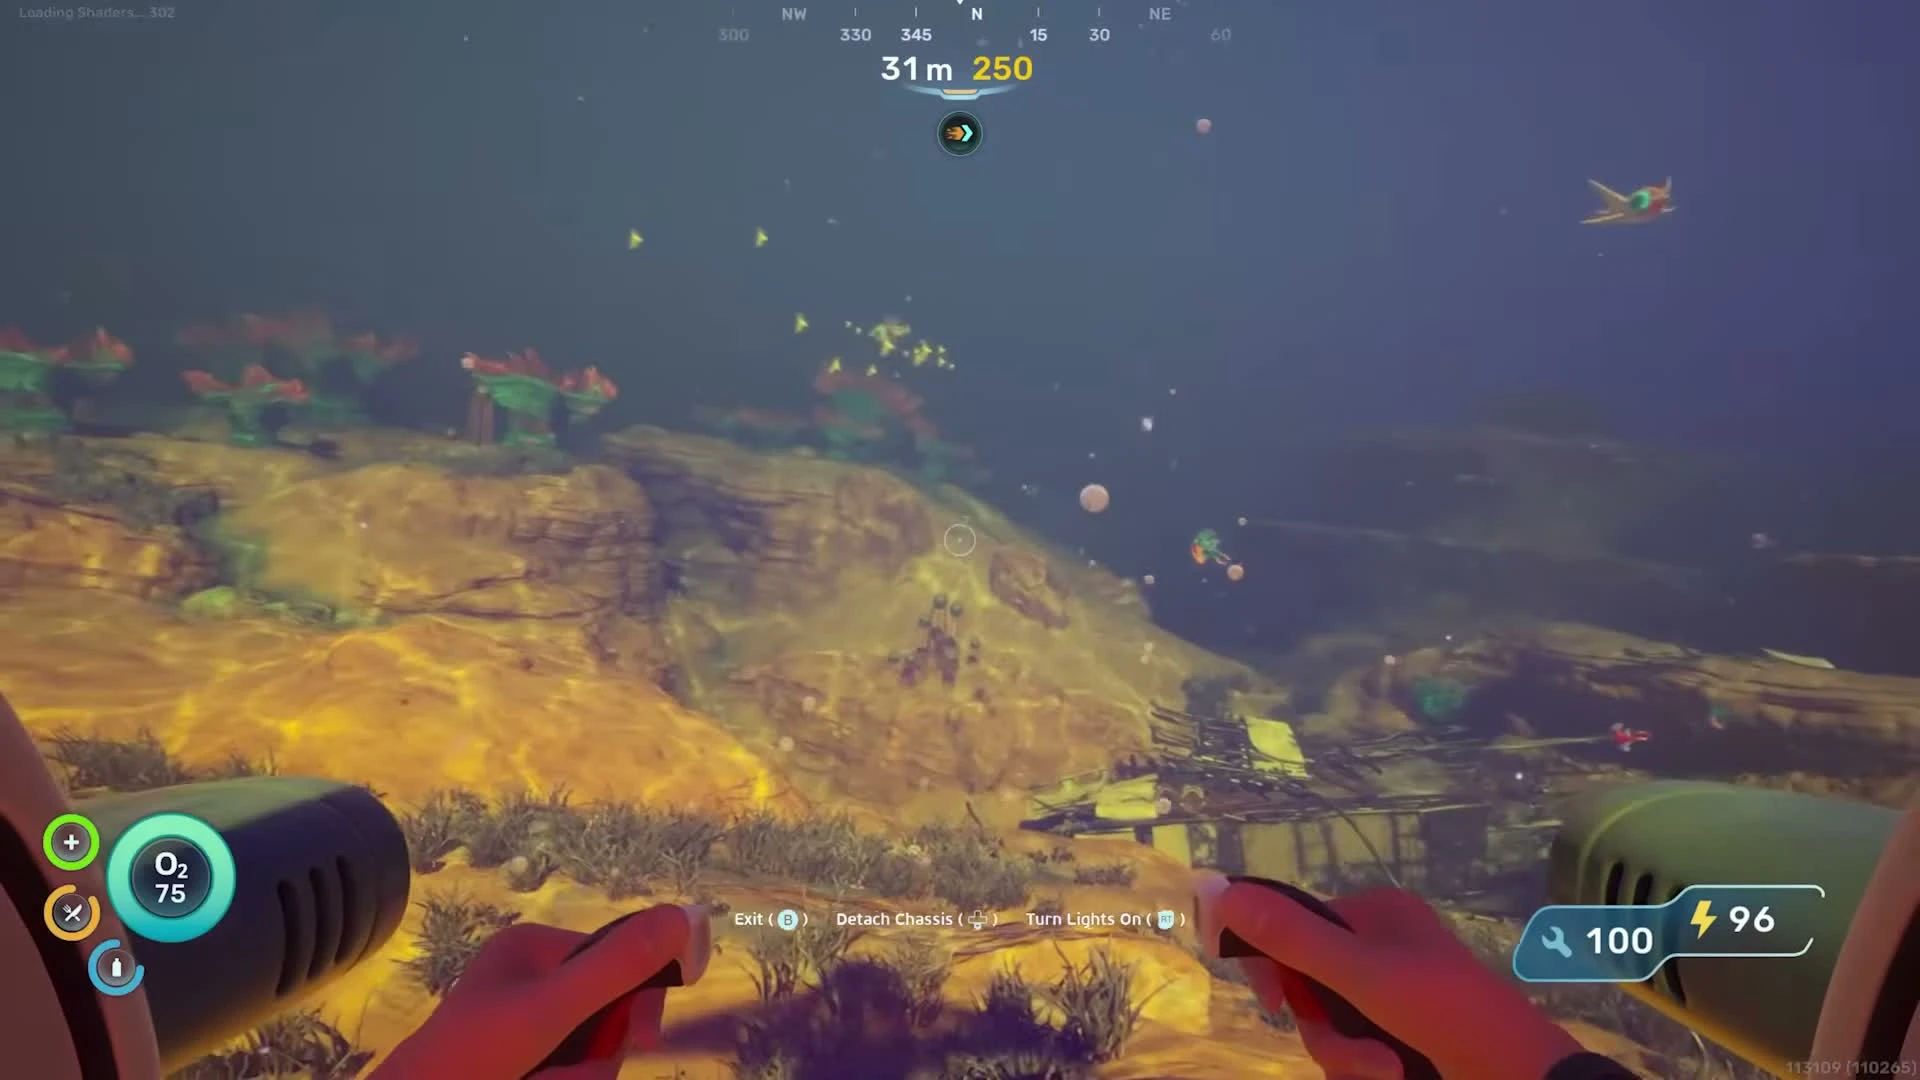
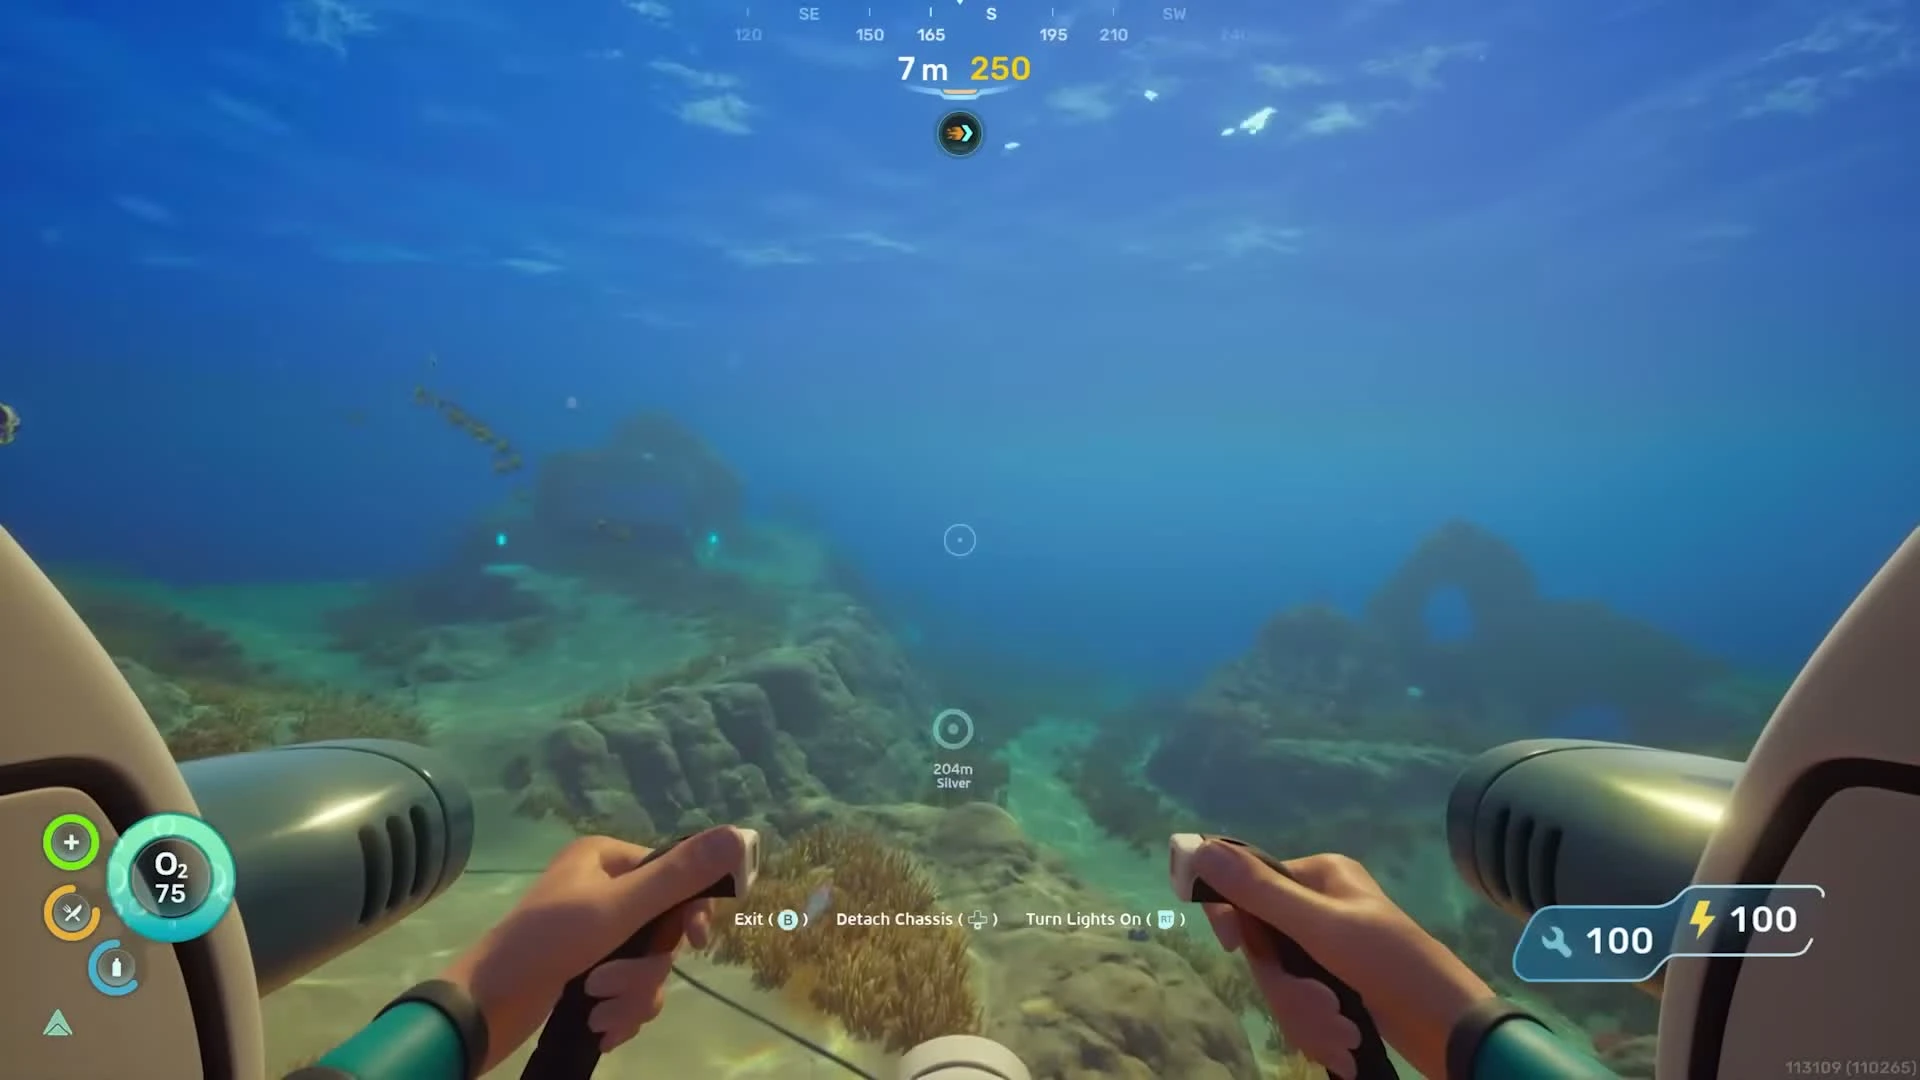
Swim Along the Seabed
As you swim North, the terrain gradually shifts from open water to rocky seabed with overhangs and coral pillars. Stay low — the crevices are on the ground level, not overhead.
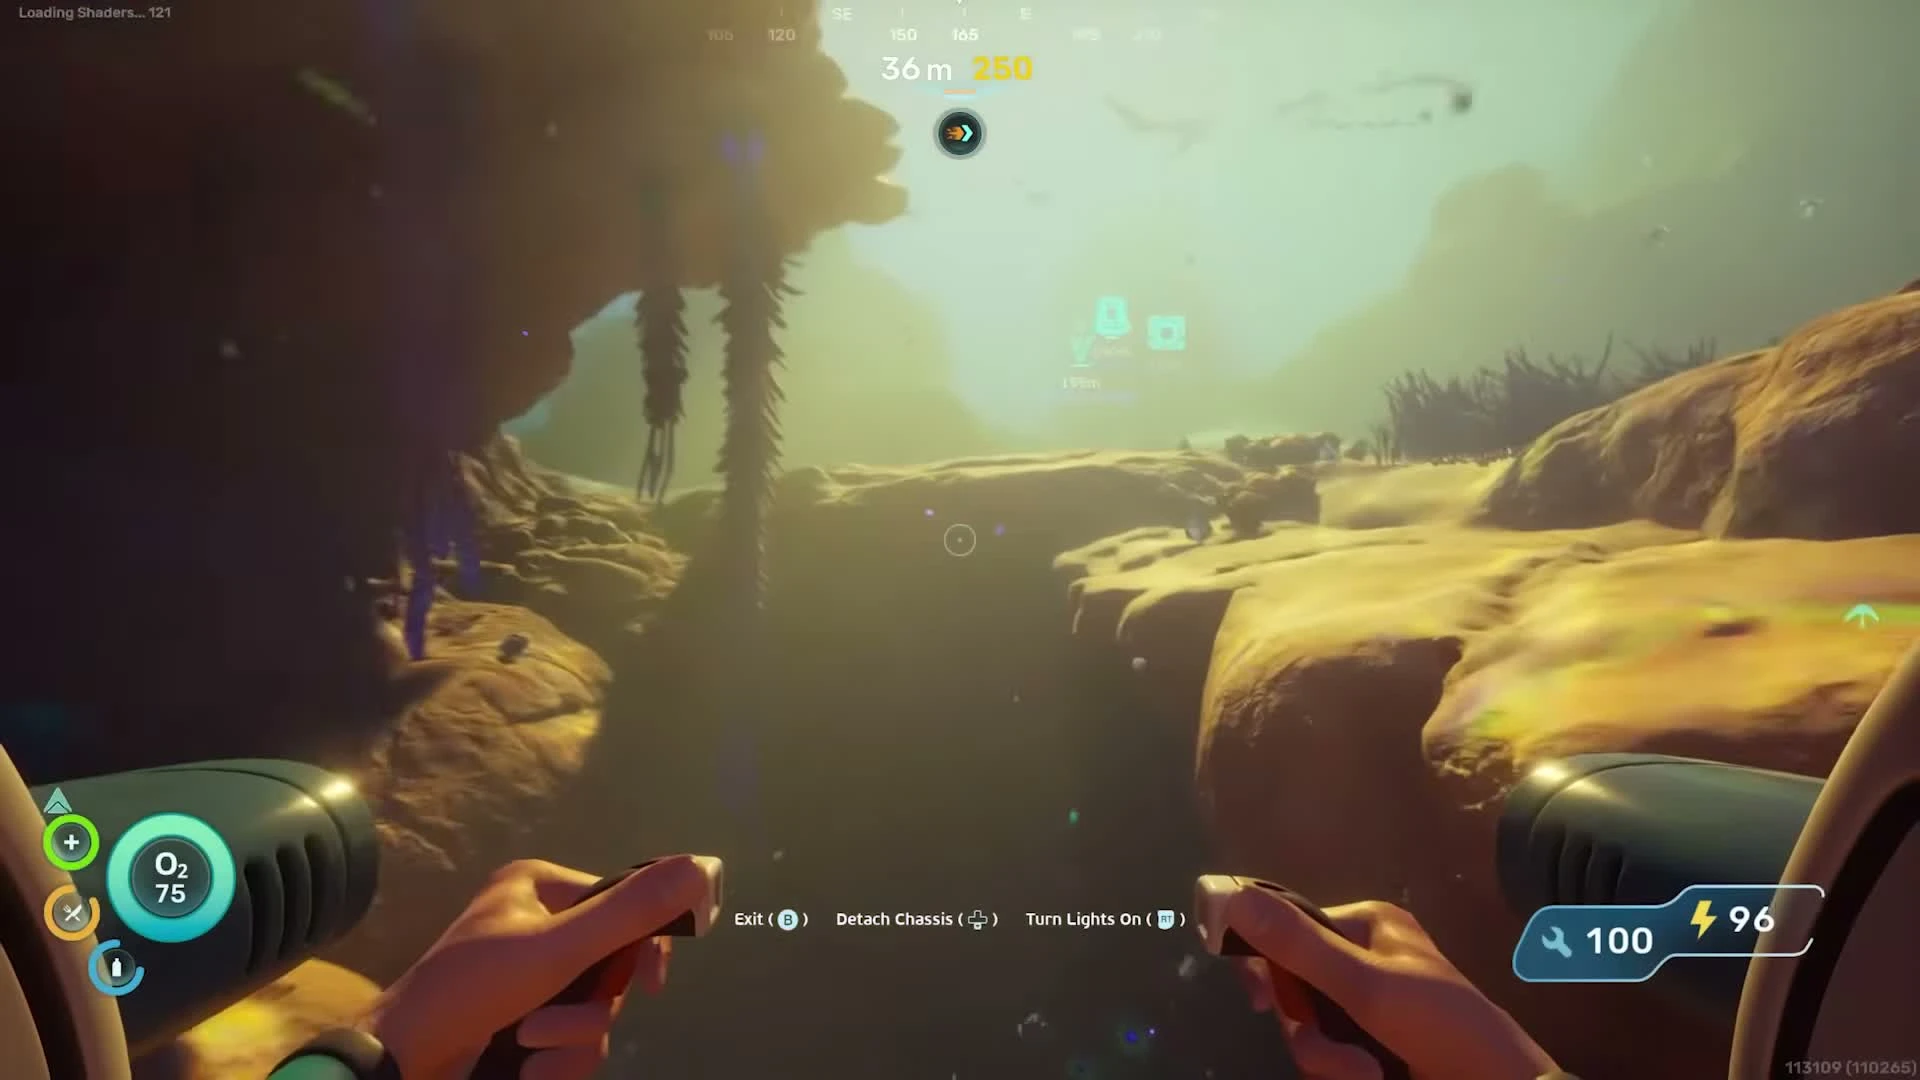
Find the Hidden Cave Crevice
Around 200m North, look for deep cracks in the ground with jagged, irregular edges. You will also see clusters of glowing teal Jelly Lei plants near the entrance — these are a reliable tell.

Harvest the Silver Nodes
Swim down into the crack. On the cave walls and floor, you will find Silver Nodes you can break by hand — just approach and press the interact button when you see the "Break Silver" prompt.
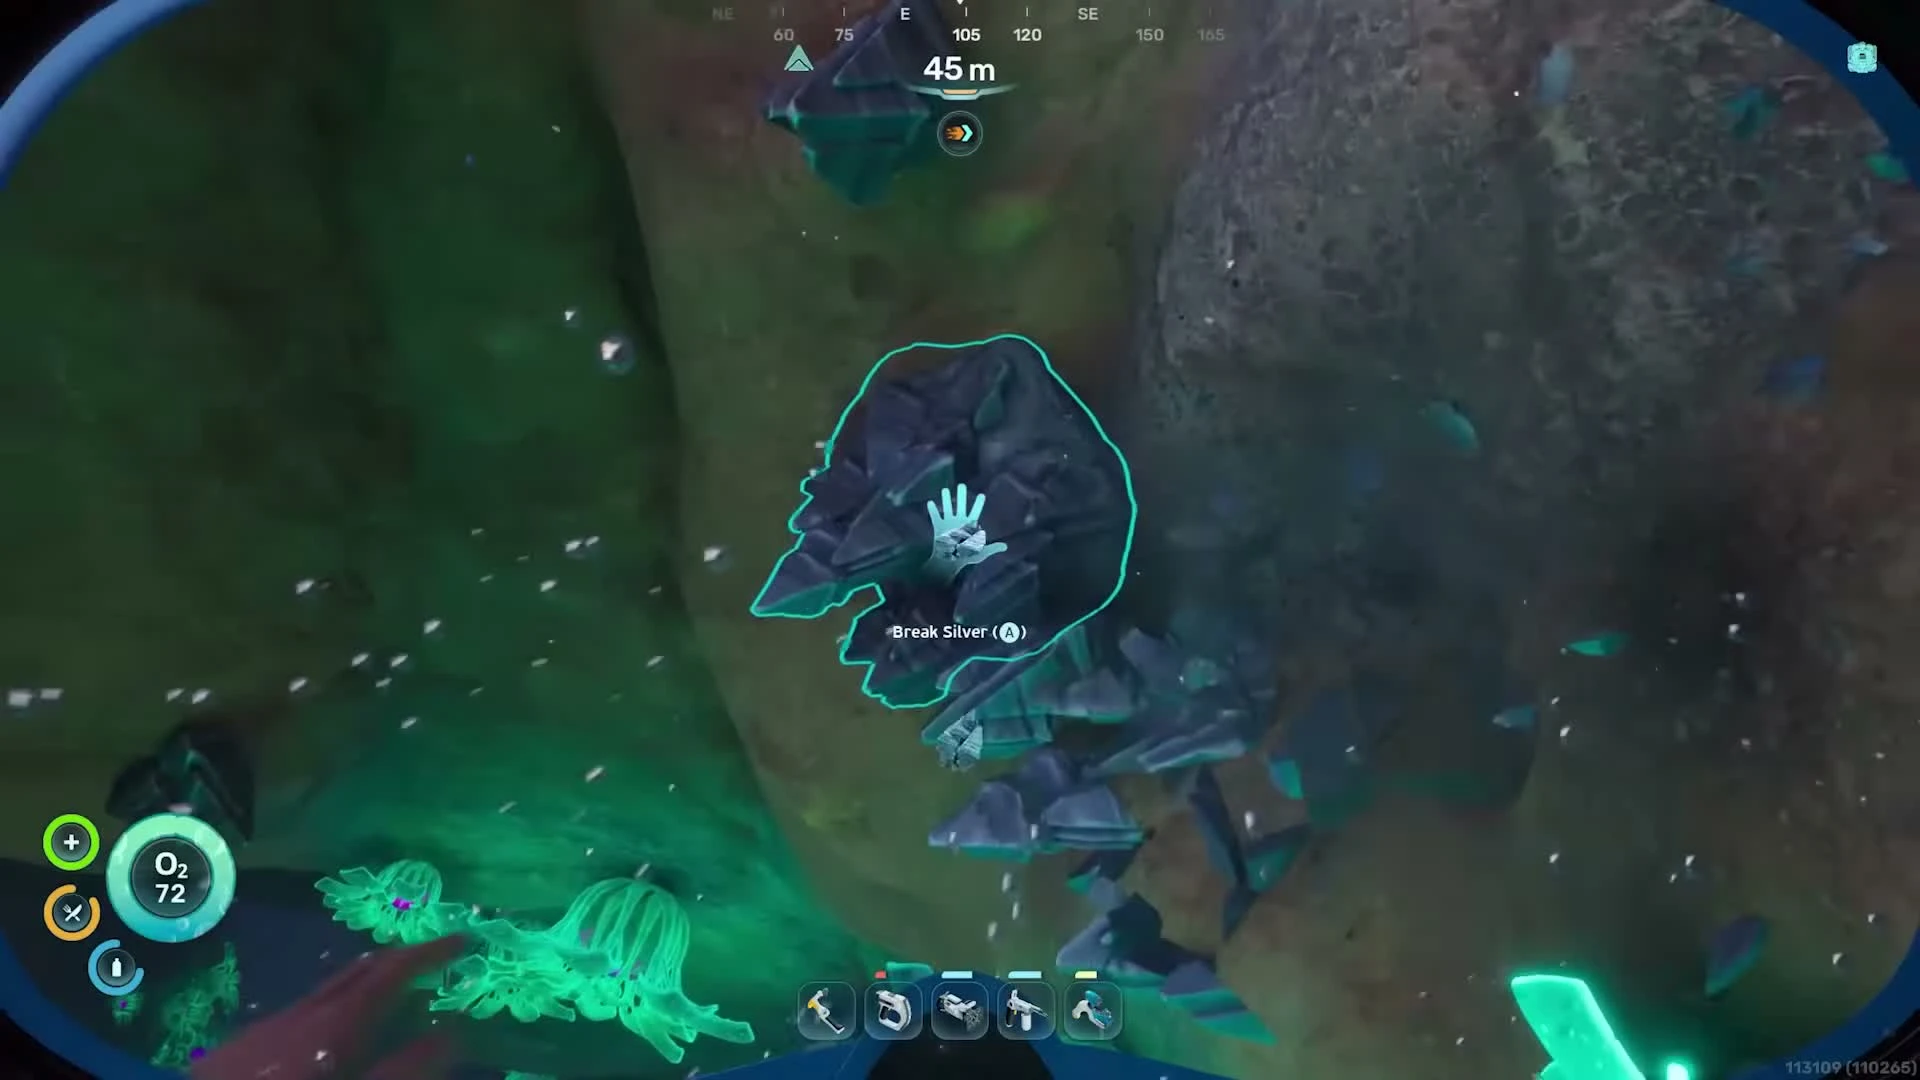
The crevice also contains scattered smaller fragments and loose pieces on the cave floor — check everything.
Alternative Location: The South Cliffs
The south cliff drop-off has Large Silver Chunks, but you cannot harvest them by hand — you need a Sonic Resonator to break them open. Skip this for now and return after crafting one.
To reach it: head 200m South of the Lifepod until you hit the deep drop-off cliff. Your HUD will show a Silver distance marker once you are in range.
The large deposits are lodged against the cliff face — unmissable once you dive down.
What to Bring
Before heading into the caves, prep these items at your Fabricator:
- Fully Charged Scanner: There are scan targets inside — including Sophie's shelter fragments.
- At least 1 Med Kit: The narrow caves are patrolled by Mango Nibblers, which will bite if you get too close.
- Portable Locker: Silver takes up inventory space. Setting up a locker near the cave entrance lets you stockpile multiple nodes in one trip.
Mid-Game Strategy: Scanner Station
Once you have your first 2 Silver Ore, build a Scanner Room — it makes every subsequent silver run trivial.
- Build requirements: Copper Wire, Wiring Kit, and 2x Silver.
- Once powered, access the console and choose Silver Ore.
- The Scanner Room marks every nearby silver node directly on your HUD, so you never have to search by eye again.